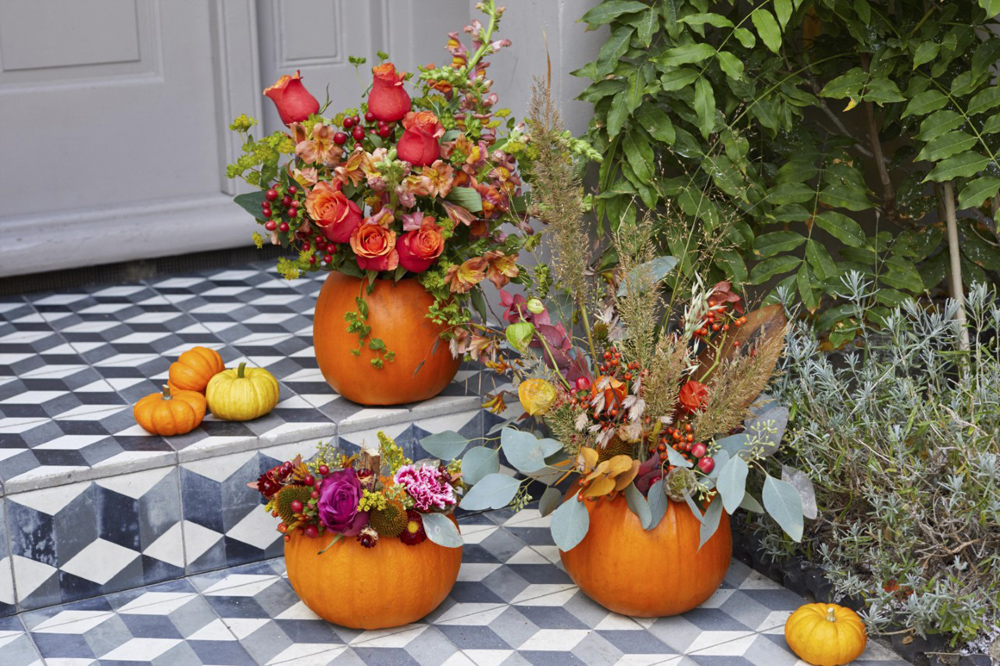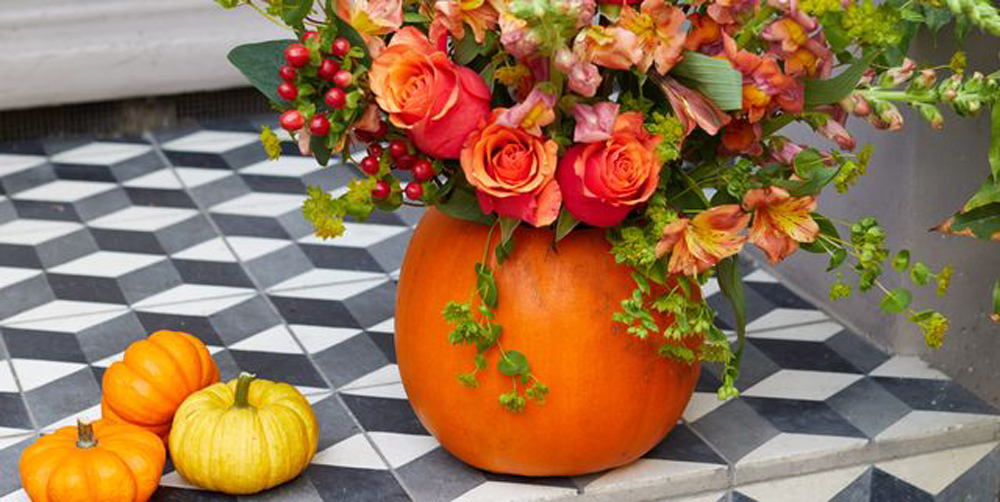
Whether you're planning to whip up some Halloween treats or binge watch some spook-tacular movies on Netflix, it’s time to get your house looking festive for the holiday. DIY vases, which make for stunning centrepieces, are a fun and much cheaper way to work your creativity. And given the situation this year, something that will cheer everyone up and take Halloween décor to the next level is the sure way to go.
Thankfully, Bloom & Wild, the letterbox flower company, have created a guide on how to create a beautiful and colourful pumpkin flower vase. And the original handmade pieces are a gorgeous way to deck out your space with an autumnal vibe way past Halloween.

Here's the step-by-step guide:
Step 1:
Cut a hole at the top of your pumpkin - Dot a circle (7-8 inches radius) around the top of the pumpkin. The circle shouldn’t be too wide, which will make the flowers fall to the side, or too narrow, which will make them all face towards the sky. Using a knife, safely cut out the top as if you were going to carve a pumpkin.
Step 2: Scoop out the inside - Once the top is off, spoon out the innards with a metal spoon to make sure you get all the seeds and pulp. When everything has been cleared out, place some wet floral foam inside the pumpkin to soak up any excess water. The foam acts as a support to keep the flowers in place and as a preservative to keep flowers in bloom for longer.
Step 3: Arrange your blooms - Now's the time to get the creative juices flowing and to arrange your foliage and flowers. As it's Halloween, Bloom & Wild recommend a mixture of reds and pinks, colours that complement the pumpkin's orange. Using flowers like roses and alstroemerias can help create a heavy autumnal look, while chrysanthemums and red hypericum berries can add a vibrant feel.
Alternative Step: Create a flower crown - If you're feeling especially crafty, go that extra mile and make a flower crown with your pumpkin. Instead of cutting a hole in the top of the pumpkin, with a marker pen dot the outline of your flower crown onto the pumpkin. Next, use a metal skewer to poke holes (about 2cm deep) into the dot and then trim your stems (at an angle) so they’re about 2cm long. Continue by sliding your stems into place and voila!


